Hiking
How to Plan Your First Hike: A Step-by-Step Guide
Updated October 2026
A good first hike usually starts well before you reach the trailhead.
Planning doesn't need to be complicated. For a short, beginner-friendly day hike, it mostly means choosing a route that matches your current ability, understanding what the day looks like, and making a few sensible decisions in advance.
This guide walks through that process step by step: picking the type of hike, reading distance and elevation, estimating your time, checking conditions, preparing navigation, and setting the simple safety rules that experienced hikers use on every outing.
The goal is a specific, realistic plan for one particular hike — not a vague intention to "go hiking sometime."
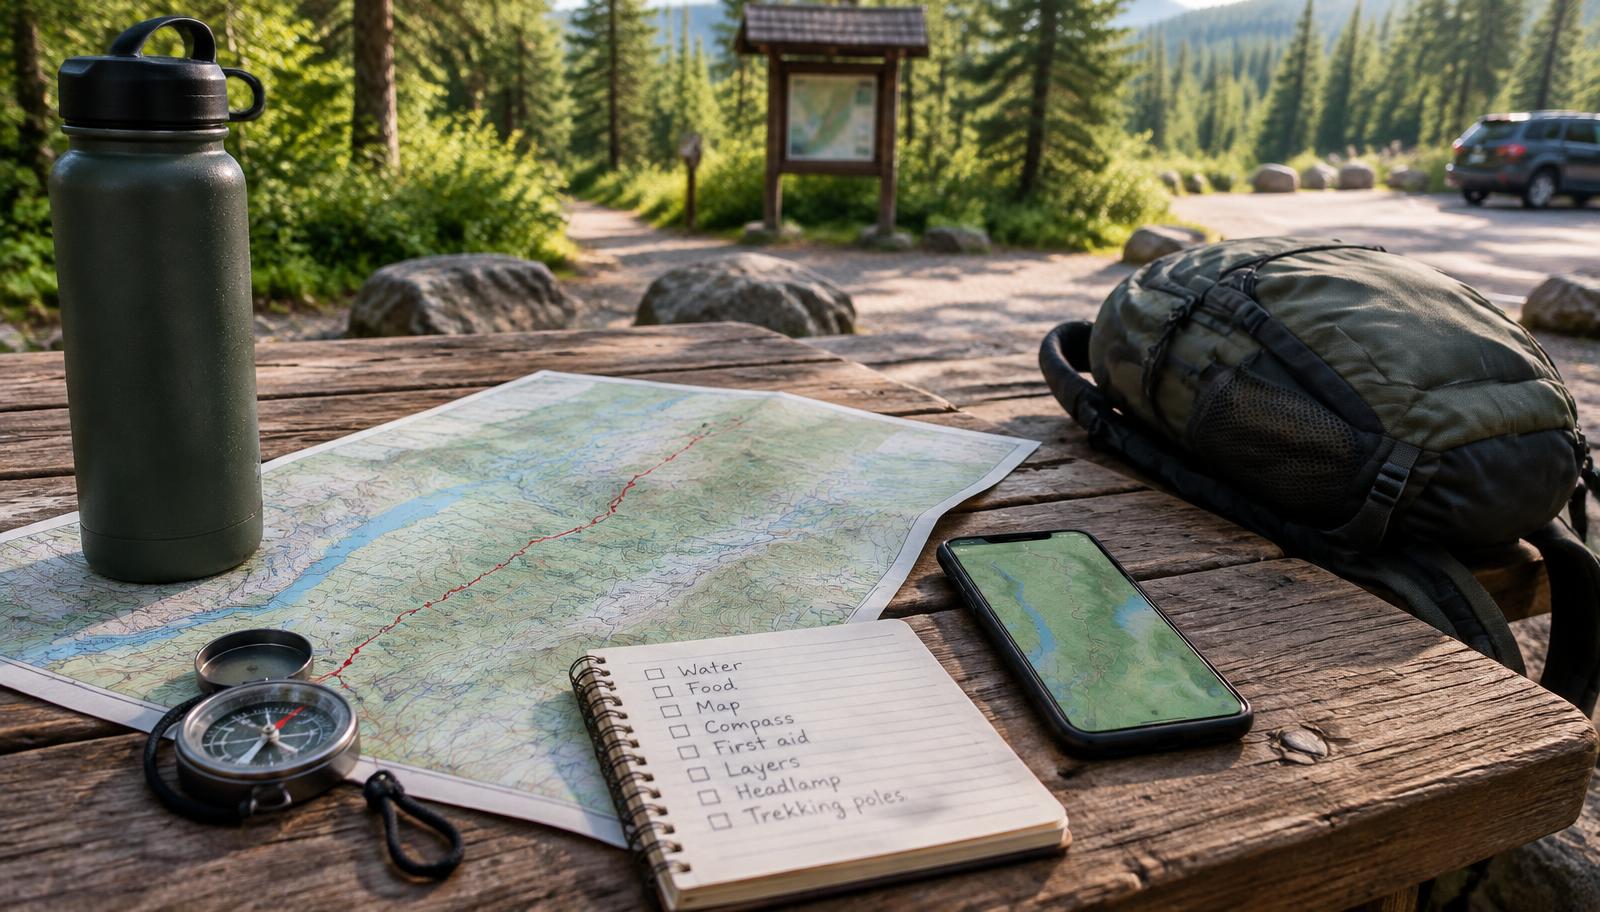
1. Choose the Type of First Hike
Before comparing individual trails, decide what kind of outing you want.
Out-and-Back Trails
An out-and-back trail follows one route to a turnaround point, then returns the same way. These are often the simplest option for a first hike: navigation is straightforward, and you can shorten the hike at any point by turning around earlier.
Loop Trails
A loop returns to the start without retracing your steps. Loops can be more interesting, but once you're partway around, you're generally committed to finishing the circuit. Check the total loop distance before choosing one.
Where to Look
Local parks, nature preserves, state parks, and national forest recreation areas often have short, well-maintained trails with clear signage. Official park and land-management websites are the most reliable source for trail information, and they list closures and fees that third-party apps may miss.
For a first hike, favor a trail that is well-marked, reasonably popular, and close to home. Saving remote or committing routes for later isn't a compromise — it's how experienced hikers build up.
2. Evaluate Distance, Elevation, Terrain and Difficulty
Trail listings usually include a few key numbers. Understanding them tells you far more than a difficulty label alone.
| Factor | What it tells you |
|---|---|
| Distance | Total miles or kilometers, including the return trip on out-and-back trails |
| Elevation gain | Total climbing over the whole route, not just the highest point |
| Terrain | Smooth path, rocky steps, roots, mud, stream crossings, or exposed sections |
| Trail condition | Recent reports of washouts, downed trees, snow, ice, or overgrowth |
| Remoteness | How far you are from help, cell coverage, and other hikers |
| Weather exposure | Ridgelines, open slopes, shade, wind, and heat |
Distance
Check whether the listed distance is one-way or round-trip. A "3-mile trail" might mean 3 miles total or 6 miles by the time you're back at your car.
As a rough reference, many beginners find a short hike in the range of a few miles manageable, but there is no single distance that is right for everyone. Adjust for your fitness, the terrain, the weather, and who is coming with you.
Elevation Gain
Elevation gain is the total amount of climbing over the whole route. A short trail with several hundred feet of gain can feel harder than a longer, flat one. If you don't regularly walk hills, treat significant climbing as a reason to choose a shorter distance.
Difficulty Ratings
Ratings like "easy," "moderate," and "hard" vary between regions, parks, and apps. An "easy" trail in a mountainous area may involve more climbing than a "moderate" trail somewhere flat.
Treat difficulty ratings as a starting point, not a promise. Read the actual distance, elevation gain, and recent condition reports, and remember that weather and trail conditions can change how hard a route feels on any given day.
3. Estimate Your Hiking Time
Knowing roughly how long your hike will take shapes everything else: your start time, your food and water, and your turnaround rule.
| Situation | Planning reference |
|---|---|
| Flat, smooth trail | Roughly 2 miles per hour is a common relaxed walking reference for many adults |
| Moderate climbing | Add time — a common rule of thumb adds about 30 minutes per 1,000 feet of elevation gain |
| Rocky or uneven terrain | Expect a slower pace than on smooth paths |
| Beginner buffer | Add extra time for breaks, photos, snacks, and navigation pauses |
| Daylight margin | Plan to finish well before sunset, not at sunset |
These are only reference points. Your actual pace depends on fitness, terrain, pack weight, weather, and how often you stop — and beginners often move slower than they expect, which is completely fine.
Plan conservatively. If your estimate says two hours, treat it as three when deciding your start time and supplies. Finishing early feels great; running out of daylight doesn't.
An Illustrative Example
The following scenario is purely illustrative — not a recommendation for any specific trail.
Imagine a 4-mile out-and-back trail with about 600 feet of elevation gain. At a relaxed 2 miles per hour, the walking alone takes about 2 hours. The climbing might add roughly 20 minutes, and breaks, snacks, and photos might add another 30. A conservative plan treats this as a 3-hour outing: start by mid-morning, set a turnaround time, and expect to be back well before late afternoon.
4. Check Weather, Closures and Trail Conditions
Conditions can matter more than the trail itself.
Weather
Check the forecast for the trail area specifically — mountain and valley weather can differ significantly from the nearest town. Look at temperature, precipitation, wind, and storm timing, and check again the evening before and the morning of your hike.
In many regions, thunderstorms build on summer afternoons. An early start often provides a more comfortable and predictable weather window.
Closures and Current Conditions
Trails close for maintenance, flooding, fire risk, wildlife activity, and storm damage. Check the official park or land-management website for alerts before you leave, and look at recent trail reports from other hikers for mud, snow, ice, or downed trees.
If conditions on arrival look meaningfully different from what you planned for — a washed-out section, ice on a shaded slope, rising water at a crossing — adjusting your plan is the right call, not a failure.
5. Find the Trailhead, Parking and Route Information
More first hikes go wrong at the parking lot than on the trail.
- Confirm the exact trailhead location, not just the park name — large parks can have many entrances.
- Check whether parking requires a fee, pass, reservation, or timed entry.
- Note whether the lot fills early; popular trailheads can be full by mid-morning on weekends.
- Save directions for offline use in case cell coverage drops near the trailhead.
- Read the trailhead information board when you arrive for maps, warnings, and current notices.
If the lot is full or the trailhead is inaccessible, switch to your backup plan rather than parking somewhere unsafe or prohibited.
6. Prepare Navigation and an Offline Backup
Even on a short, well-marked trail, you should be able to answer two questions at any point: where am I, and which way is back?
A smartphone with a downloaded offline map is a practical primary tool for many beginner hikes. Download the map area before you leave home, while you still have a reliable connection.
Then prepare a backup. Phones run out of battery, break, and lose signal. Depending on the trail, a backup might be a printed map, a screenshot of the route, or a paper map and compass you know how to use.
Don't rely on a navigation tool you've never opened before. Whichever app or map you choose, look at your route on it before you leave home so the trail layout is already familiar.
7. Review Your Essential Supplies
Planning and packing go together. Once you know your route, distance, expected time, and forecast, you can pack for the hike you're actually doing rather than guessing.
For most short day hikes, the essentials include water, food, navigation, weather-appropriate clothing, sun protection, basic first aid, a light source, and a charged phone.
Our What to Bring on a Day Hike guide walks through the full packing list item by item, including how to adjust it for heat, cold, rain, and longer routes.
If you're still getting comfortable with the basics of hiking itself, Hiking for Beginners covers what to expect on the trail, what to wear, and how to build confidence gradually.
8. Share Your Plan With a Trusted Contact
Before you leave, tell someone who isn't coming with you where you're going and when you expect to be back.
- Trail name and planned route
- Trailhead location
- Planned start time and expected return time
- Who is hiking with you
- When to worry, and who to call if you don't check in
Then follow the plan you shared. If you change trails or timing on the day, send an update before you start. A plan only helps if it matches what you actually do.
9. Set Turnaround Rules and a Backup Plan
A turnaround rule is a decision you make at home, with a clear head, so you don't have to make it later when you're tired or tempted to push on.
Turnaround Time
Decide in advance when you'll head back, based on your estimated hiking time and the daylight available. On an out-and-back trail, that might be a specific time of day. On any trail, it means leaving yourself a comfortable margin rather than racing the sunset.
Turnaround Conditions
Also decide what conditions would end the hike early: weather moving in, a trail that's harder than expected, someone in the group struggling, or a crossing that looks unsafe. Agreeing on these triggers in advance makes them much easier to act on.
A Backup Plan
Choose a simpler alternative before you leave — a shorter trail nearby, or the same trail with an earlier turnaround. If the parking lot is full, the forecast worsens, or you're simply not feeling it, switching to the backup keeps the day enjoyable instead of forcing a plan that no longer fits.
Turning around is a normal part of hiking. The trail will still be there next time.
10. First-Hike Planning Worksheet
Work through this list in the days before your hike, and review it again before you leave.
The Route
- Trail name and route chosen
- Total distance and elevation gain reviewed
- Terrain and difficulty checked against your comfort level
- Estimated hiking time calculated, with a conservative buffer
- Turnaround time and turnaround point decided
Conditions and Logistics
- Forecast checked for the trail area, not just the nearest town
- Trail closures and current conditions confirmed
- Trailhead location and directions saved
- Parking, fees, permits, or reservations confirmed
- Sunrise and sunset times noted
Preparation
- Map downloaded or printed, with an offline backup
- Phone fully charged
- Supplies reviewed against the day hike packing list
- Plan shared with a trusted contact
- Backup plan chosen in case conditions change
11. Frequently Asked Questions
How far in advance should I plan my first hike?
A few days is usually enough for a short, local day hike. That gives you time to check the forecast, confirm trail conditions and closures, sort out parking or permits, and share your plan with someone. Popular trails with limited parking or permits may need more lead time.
How do I know if a trail is too hard for me?
Compare the trail's distance, elevation gain, and terrain to what you can comfortably walk on flat ground, then plan conservatively. Trail difficulty ratings vary between regions and apps, so treat them as a rough guide rather than a guarantee, and check recent condition reports for current information.
What if the weather changes after I've already planned my hike?
Recheck the forecast the evening before and the morning of your hike. If conditions have deteriorated meaningfully — storms, extreme heat, high wind, or poor air quality — it's reasonable to shorten the route, delay your start, or choose another day. A flexible plan is a good plan.
Do I need a permit or reservation for a day hike?
Sometimes. Many local trails are free to access, but some parks require entrance fees, parking reservations, timed entry, or day-use permits. Check the official park or land-management website for your specific trailhead before you go.
What should I tell someone before I go hiking?
Share your trail name and route, trailhead location, planned start and return times, who is going with you, and when they should worry and who to call if you don't check in. Then stick to the plan you shared.
What is a turnaround time, and do I really need one?
A turnaround time is a predetermined point when you head back, regardless of how close you are to your destination. It protects your daylight, energy, and weather margins. For a first hike, it's one of the simplest and most useful safety habits you can build.
Is it okay to abandon my plan and pick a different trail on the day?
Yes — flexibility is part of good planning. If the parking lot is full, the trail is closed, or conditions look different than expected, switching to a backup route is a sensible decision. Just update the person holding your plan before you start.
12. A Good Plan Makes a Better Hike
Planning a first hike isn't about removing every uncertainty. It's about making the important decisions while you're still at home, with time and information, instead of on the trail under pressure.
Choose a route that fits where you are right now. Estimate your time conservatively. Check the conditions that apply on the day you're actually going. Tell someone your plan, and give yourself permission to adjust it.
Do that, and your first hike stops being an unknown — it becomes a day you can look forward to.
Keep Exploring With Ready Outside
Hiking for Beginners
Learn how to choose your first trail, prepare for the day, and build confidence outdoors.
Read the guide →
What to Bring on a Day Hike
Build a practical packing list for water, food, clothing, navigation, and safety essentials.
Read the guide →
Hiking Safety for Beginners
Understand common trail hazards and how to prepare for emergencies.
Coming Soon
What to Wear Hiking
Choose comfortable footwear, clothing, and layers.
Coming Soon
Best Hiking Gear for Beginners
Explore practical gear choices when you're ready to upgrade.
Coming Soon
Or return to the Hiking Hub.
Explore. Prepare. Get Outside.